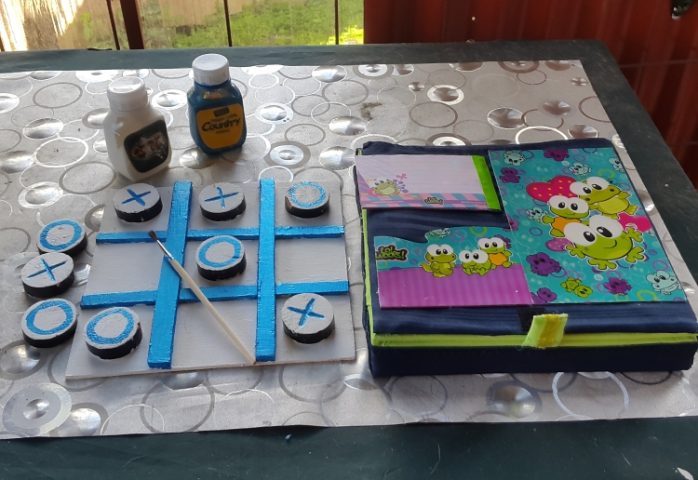
This year we did not have a lot of money for gifts so we decided to make some of the toys for our son. One of the classic games from our childhood was tic tac to and thought it would make a great gift. We love to make arts and crafts at home and after doing a quick inventory of what we had available around the house, it was just a matter of making the toy.
To make it this game of tic tac to, we used the following tools and supplies but in most cases, you should be able to use pretty much whatever you have available around your home as lots of the wood we used came from old pieces of furniture.
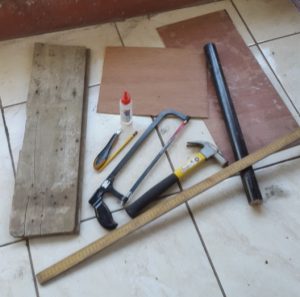 A long piece of wood like a broom stick or an old table or chair leg – We used the leg an old end table that was broken. This will be used to make the tic tac to pieces. The piece of wood should be long enough to cut into 9 pieces with a width of 1.5-2 inches.
- 1-2 sheets of soft plywood or the equivalent of it – We used a soft piece of pressed/plywood that was a part of the bottom of an old drawer. The dimensions of the plywood should be large enough to fit the 9 pieces of round wood.
- Glue gun, wood glue or silicon glue – This will be to hold the pieces of the board together
- Sand Paper – This will be to sand down the game pieces and board.
- Measuring tape or stick
- Hacksaw or Saw
- Utility knife
Step 1. Making the pieces for the Tic Tac To Game
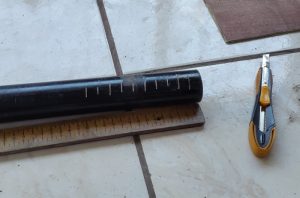 Take the long rounded piece of wood and 9 pieces of wood from it. We cut ours into pieces that were 1.5-2 inches in thickness.
First, take a pencil or the utility knife to make some notches or lines into the wood as a guide as to where you will cut the wood using the saw.
am not very good at cutting using a saw as some of my pieces were a bit crooked and of slightly different sizes. So if you have power tools, by all means use them to make the process a lot easier.
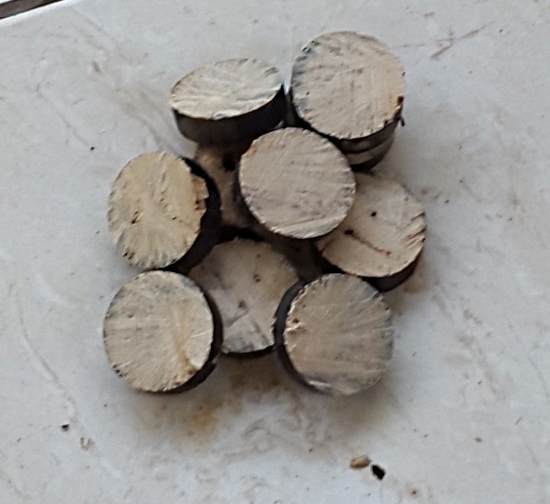
In the end, you should have 9 pieces similar to the ones in the image below:
Step 2. Making the Board for the Game of Tic Tac To
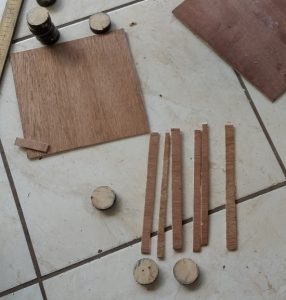 The next step is to make the board for the game. The dimension of the board will depend on the size of the game pieces you have made.
For example, if your game pieces are about 1×1 inches each, the board should be about 10x 10 inches.
So use your saw to cut the board to the desired dimensions. Ideally, you want the pieces to be the same size and length. However, that is not always possible due to lack of material.
With luck, you should have enough wood left over to make 6 strips of wood that will be used to make the separators for the game of tic tac to.
It is difficult to cut thin strips of wood using a hacksaw and had some difficulties making them but in the end, we were happy with the results.
Step 3. Putting the Base of the Game together
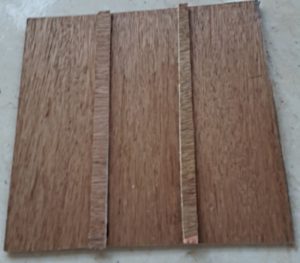
For this part you first have to measure each strip of wood, cut them to size so that they will fit perfectly on the game board.
Once this is done, sand the base of the board and the strips of wood.
The strips of wood will be glued on the board so that there will be enough space to fit one of the game pieces in between them.
So first, glue the first 2 pieces to the board and the next step will be to create the two strips of wood that will go on top of the first 2 strips of wood to create a hashtag symbol.
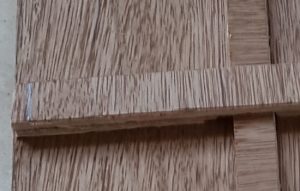 You should have 4 strips of wood left and what you want to do, is cut 2 of the strips of wood in half and then cut about 1 inch from each of the halves.
Next, you simply glue the cut strips of wood to the bottom of each strips of wood so that when you glue them on the board, it will fit perfectly on it when you glue these pieces together.
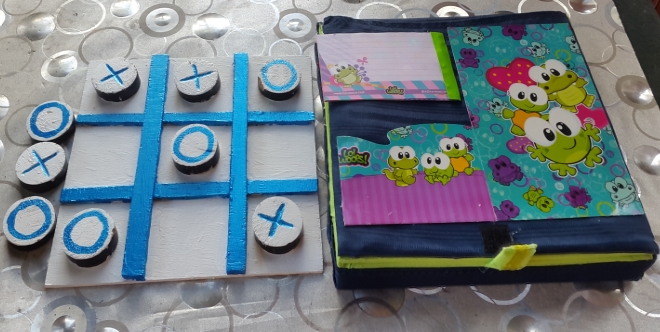
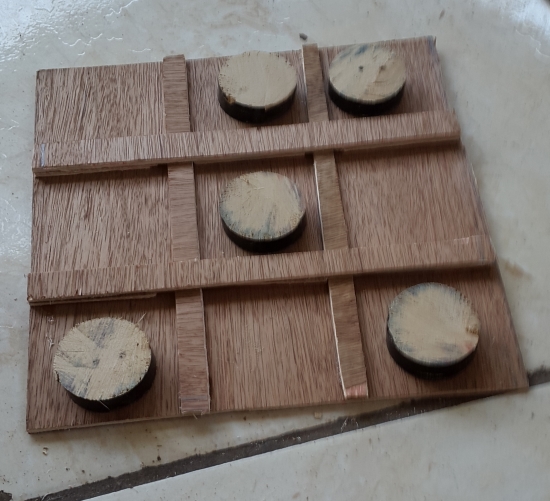
In the end, you should end up with a board that looks something like the picture below
Step 4. Finishing the Game – Carving and Painting
We are almost done with out game of Tic Tac To. The only thing that remains is to add the X and O symbol to the game pieces and to paint them.
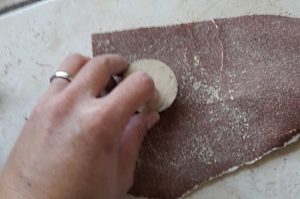 First sand each game piece to have smooth edges. The smoother the pieces are the better they will look. Once you are done sanding the pieces you just need to add the symbols on each game piece.
How you do this next step is really up to you as some people will choose to just keep the natural beauty of the wood instead of painting over it.
In our case, we decided to paint the pieces of wood as we only had cheap and old wood available that had an ugly grain to it. If you have beautiful wood, you can instead choose to just carve an X and an O on each side of the game pieces. Just be careful when you carve the wood as to not cut yourself.
Don’t be afraid to use new blade on the utility knife when you carve the symbol on each piece. We actually went through 3 blades but it was worth it as it makes the carving a lot easier.
If you are not comfortable carving the symbols, just paint them on each piece.
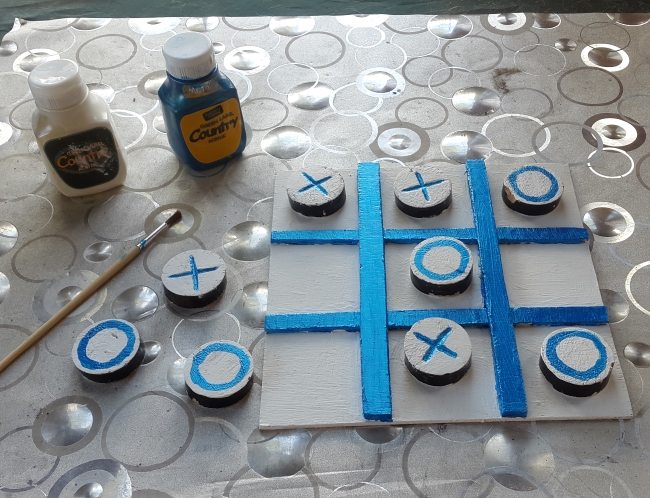
What we did is a combination of the two method where we carved the X on the piece and then painted the O on the other side as carving an O is much more difficult then carving an X.
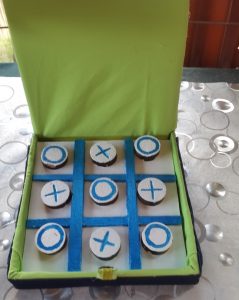
So once we had carved the X, we painted each game piece and then painted the carved X and the O and ended up with a beautiful looking Tic Tac To game!
Step 5. Personalize the Game by adding a Box for it.
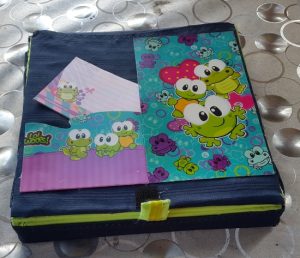
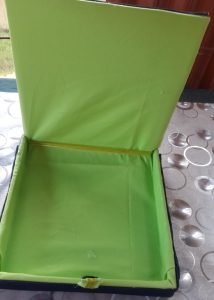
Since this was going to be a Christmas gift for our son, we wanted to go above and beyond and my wife made this beautiful box for the game using the left over wood, some left over cloth and printed some cute images she found on the internet.
After making the box for her, she covered it with cloth and glued some of the images on top of it and even made a pocket and added a small notepad to keep track of the score and it turned out very well.
 |
 |
 |
Of course, the box could just be made from a regular cardboard box and covered in cloth.
When our son received this present on Christmas day, he loved it and said it was a much better gift then the other ones he received from family and friends.